Custom column is a handy feature for the customers to show more information in a tabular view rather than visiting each record individually by clicking edit. So here, We will show you the best way to add custom column to any post types in WordPress. Are you ready to explore? Let’s just jump into it.
| Table of Contents |
| 1. An Ideal Place to Add Custom Code in WordPress |
| 2. What Are We Going To Do In Very Simple Words? |
| 3. Add Custom Column To The Post Type Screen |
| 4. Add Content To The Custom Column |
An Ideal Place to Add Custom Code in WordPress
Most Important: Add the following code to your child theme’s functions.php file. If you add custom code directly to your parent theme’s functions.php file then it will be wiped entirely when you update the theme.
If you are using a custom theme and if it doesn’t require any update then you can directly place the code into wp-content/themes/your-theme/function.php file.
Please note that we have tested all the below code in Hello Elementor’s child theme.
What Are We Going To Do In Very Simple Words?
Here, We will use both Actions and Filters hooks. Filters hook will add the new column in post type’s admin screen and Actions hook will show the data in that newly added column. Hope you understood up till here.
manage_{replace-your-post-type-name}_posts_columns filter hook is used to add a new column into the post type. You just need to replace your post type name by completely removing {replace-your-post-type-name}.
manage_{replace-your-post-type-name}_posts_custom_column action hook is used to show data to the newly added column into the post type. You just need to replace your post type name by completely removing {replace-your-post-type-name}.
The above thing will help to understand the example very easily. Now, Let’s add a new column by taking a very simple example. Are you ready? Let’s to it together.
01 Add Custom Column To The Post Type Screen
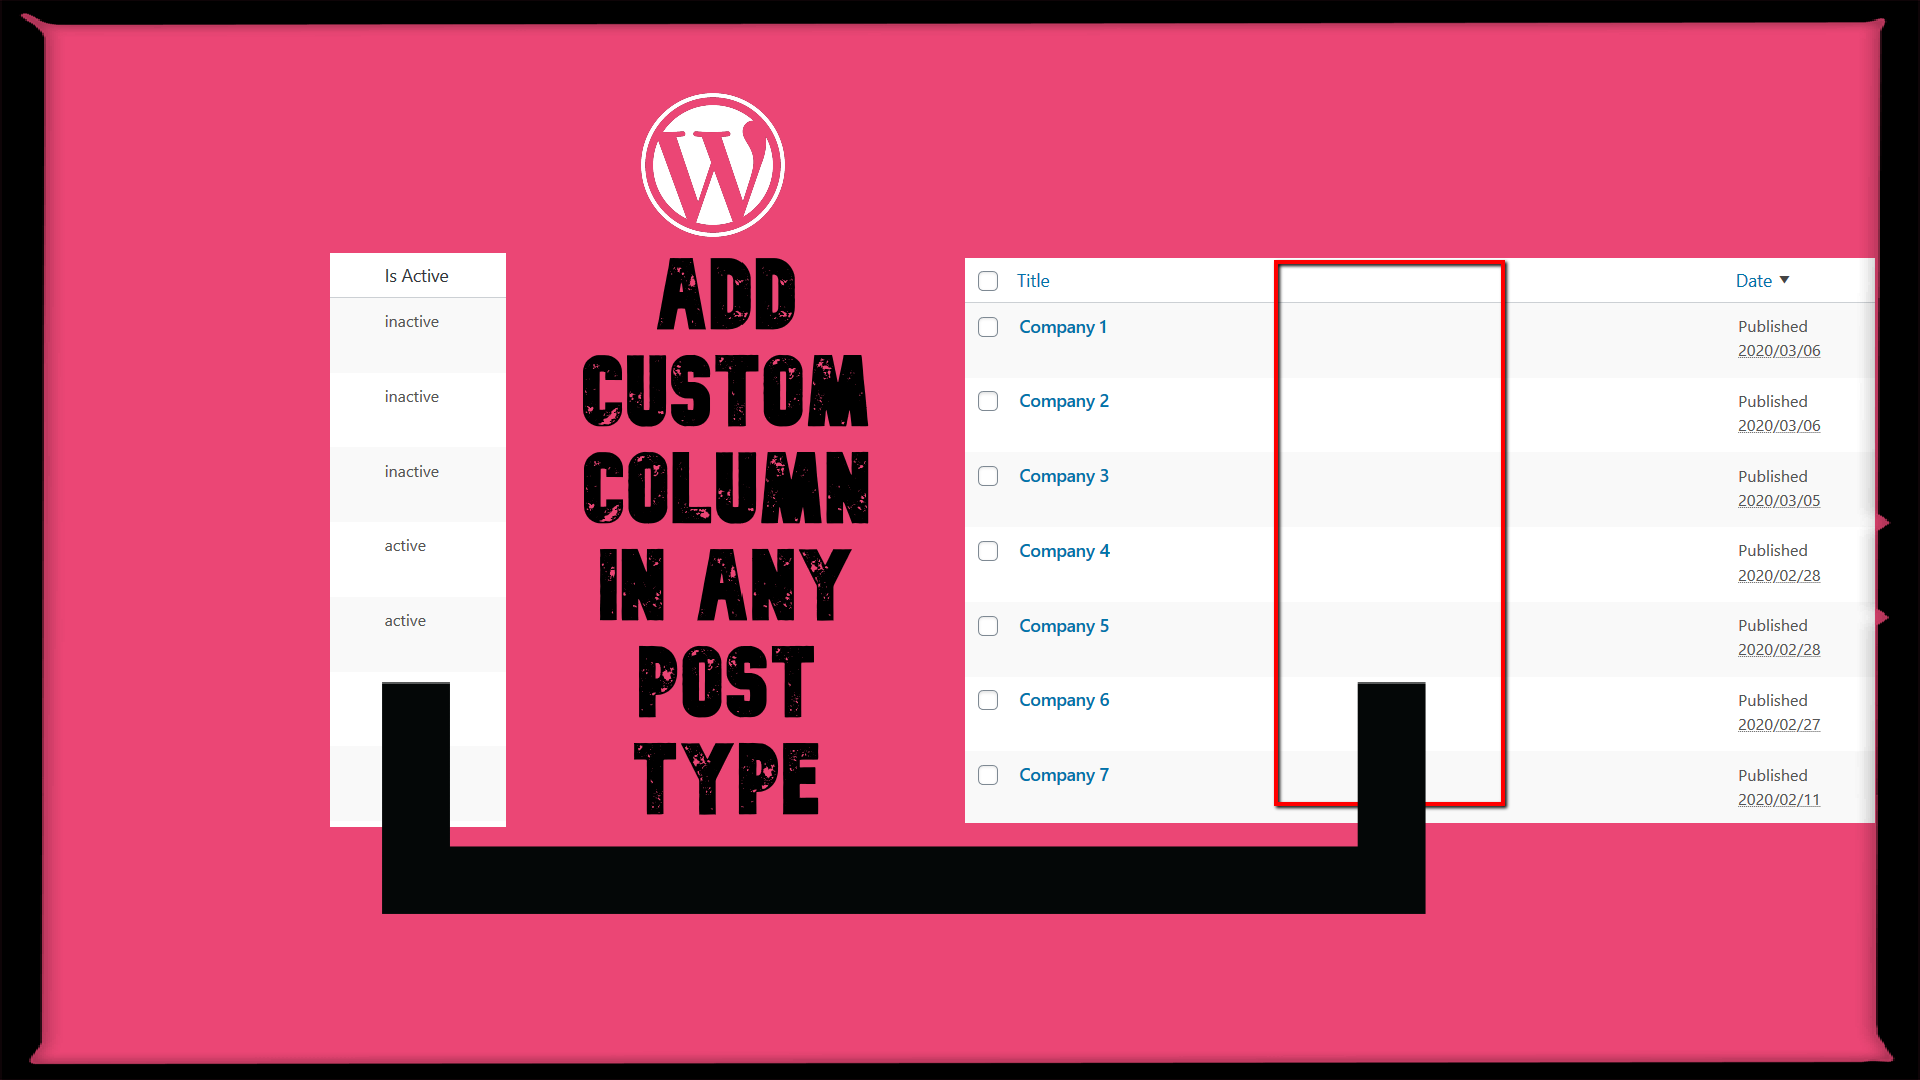
Let’s assume that you have a custom post type “Company” and you have added several custom fields into it. Among those fields, you have a “Is Active” status field. Now, you want to add that “Is Active” field as a column in your company post type screen.
So now, as per the above discussion we need to replace our post type “company” into each hook. After placing below code you will see the empty column in your post type with the heading “Is Active”.
/*@ Adding status column into companies listing */
if( !function_exists('add_custom_status_column_in_company') ) :

	add_filter( 'manage_company_posts_columns', 'add_custom_status_column_in_company' );
	function add_custom_status_column_in_company($columns) {
	    unset( $columns['author'] ); // Remove author column
	    $columns['status'] = __( 'Is Active'); // Add new column
	    return $columns;
	}
endif;
02 Add Content To The Custom Column
Now, it’s time to add content into the custom column after adding the empty column into the post type screen. For that, we will use get_post_meta() function to get the meta of the post in manage_{replace-your-post-type-name}_posts_custom_column action hook. Let’s see.
/*@ Show data into the status custom column */
if( !function_exists('show_data_into_custom_status_column') ) :

	add_action( 'manage_company_posts_custom_column' , 'show_data_into_custom_status_column', 10, 2 );
	function show_data_into_custom_status_column( $column, $post_id ) {

	    switch ( $column ) {

	        case 'status' :

	        	$status = get_post_meta( $post_id , 'isActive' , true );

	            $isActive = 'inactive';

	            if ($status) :
	            	$isActive = 'active';
	            endif;

	            echo $isActive;

	            break;
	    }
	}
endif;
Additionally read our guide, Remove Custom Taxonomy Base from URL in WordPress
That’s it for now. We hope this article helped you to learn How to Add Custom Column To Any Post Types in WordPress
Please let us know in the comments if everything worked as expected, your issues or any questions. If you think this article saved your time & money, please do comment, share, like & subscribe. Thank you for reading this post 🙂 Keep Smiling! Happy Coding!


