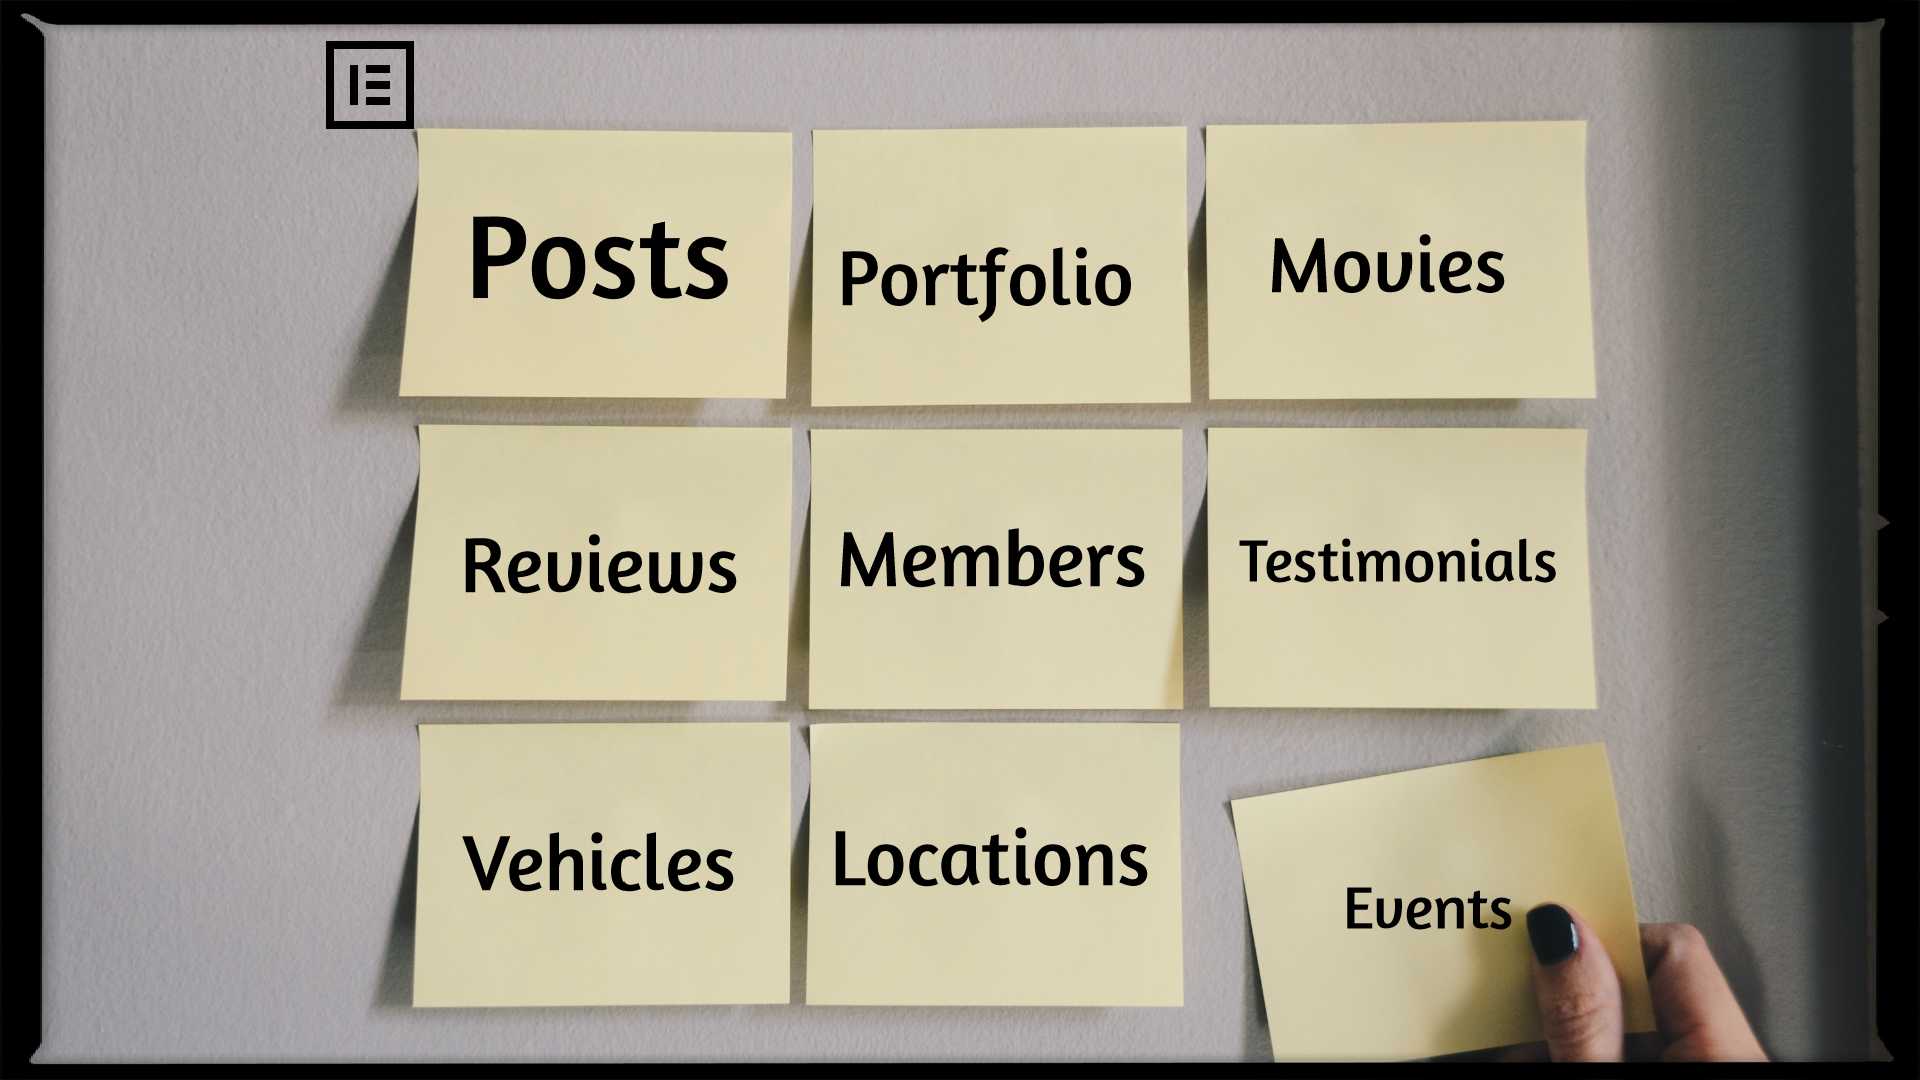
The Elementor “posts widget“ is very limited to the single post type. But sometimes you need to add more post types to fulfill the requirements. In this case, We will teach you how to add multiple post types in the posts widget in Elementor. Let’s crack it together.
| Table of Contents |
| 1. Setting Up a Custom Filter |
| 2. Use the Custom Filter & Modify the Query |
| 3. Where to Add This Snippet? |
| 4. How to Test that Code is Working or Not? |
Steps To Add Multiple Post Types In Posts Widget In Elementor
01 Setting Up a Custom Filter
Elementor introduced a Query ID features into the Posts & Portfolio widget to extend the control over the query. So to set up a custom filter, you need to add unique Query ID.
Please note that Query ID should not consist of any special characters except underscore, no spaces are allowed. Here, In this example Query ID set to ‘multiple_cpts’, so when Elementor renders the widget it will create a custom filter based on the Query ID. Check below screenshot to set your Query ID.

02 Use the Custom Filter & Modify the Query
After you have set up the Query ID, It is now ready for use to modify the query. You will feel the same way WordPress native pre_get_posts hook lets you modify the Query.
You need to replace the multiple_cpts in below example with your Query ID. Moreover, You also needs to replace & add your post types in place of 'custom-post-type1', 'custom-post-type2'
<?php

add_action( 'elementor/query/multiple_cpts', function( $query ) {
	$query->set( 'post_type', [ 'custom-post-type1', 'custom-post-type2' ] );
} );
03 Where to Add This Snippet?
Most Important: Add the following code to your child theme’s functions.php file. If you add custom code directly to your parent theme’s functions.php file then it will be wiped entirely when you update the theme.
If you are using a custom theme and if it doesn’t require any update then you can directly place the code into wp-content/themes/your-theme/function.php file.
04 How to Test that Code is Working or Not?
It doesn’t matter that you have written thousands of lines of code but it’s a matter that it should work as you expected. To test the code, You need to add posts widget into your page. If you are limiting the posts per page then it is advisable to enable the pagination to check different posts.
Now, open different posts in browser tabs side by side. You can see that posts widget now have different post types posts. You can identify that via URL. Hurray! That’s the goal. We have tested this snippet with hello elementor’s child theme.
Additionally read our guide, How To Add Back Button in Elementor
That’s it for now. We hope this article helped you to learn how to add multiple post types into posts or portfolio widgets in Elementor.
Please let us know in the comments if everything worked as expected, your issues or any questions. If you think this article saved your time & money, please do comment, share, like & subscribe. Thank you in advance 🙂


Hello! This completely worked thank you so much, but I would like if you can help me adding a category for those post-types, is it possible?
Perfect. Thank you! Worked with Ele Custom Skin as well.
We are glad that our post have helped you
Thank you so much for this short tutorial. I was having all kinds of trouble implementing this even folowing Elementor’s directions from their codex. I am so ever grateful to you.
I am having trouble with pagination on this, i am unable to go to page 2 or 3, do you have any ideas?