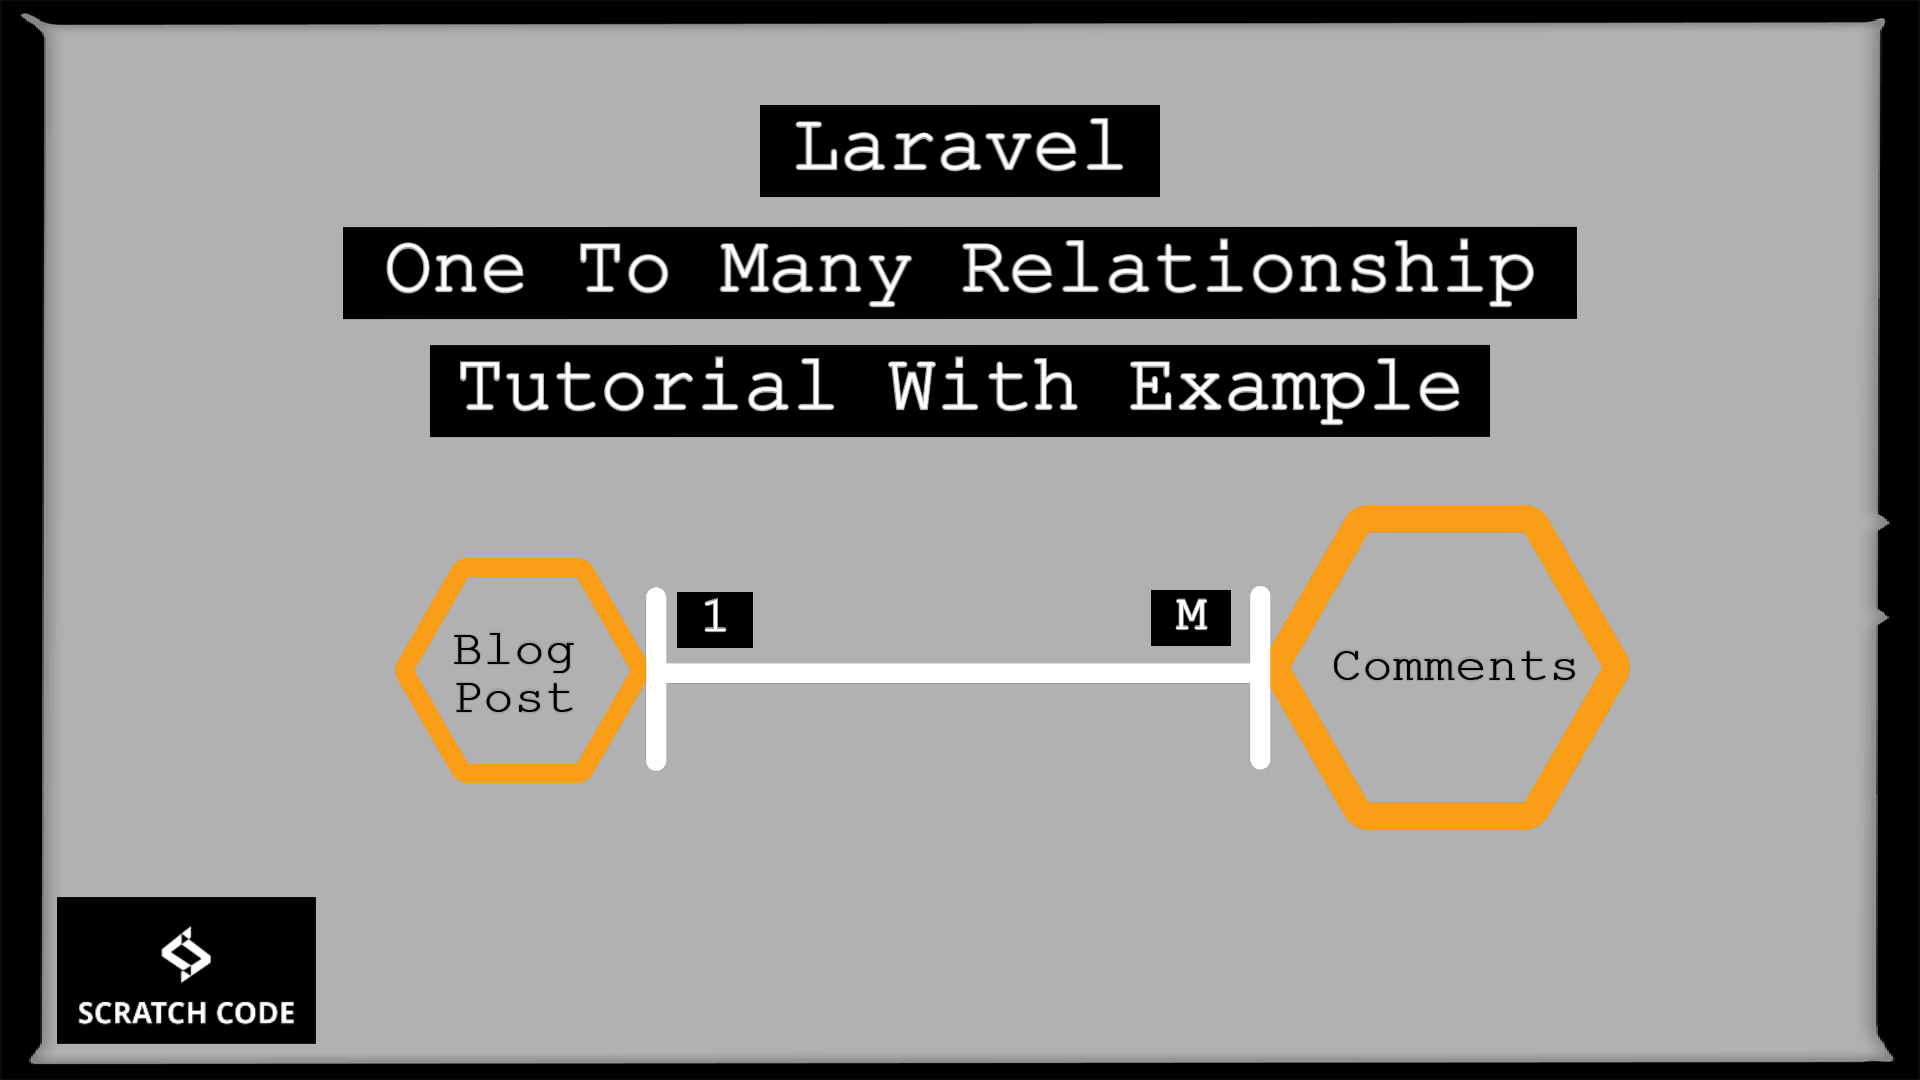
In this tutorial, we will learn about the Laravel one to many relationships.
01 Understanding Laravel One To Many Relationship
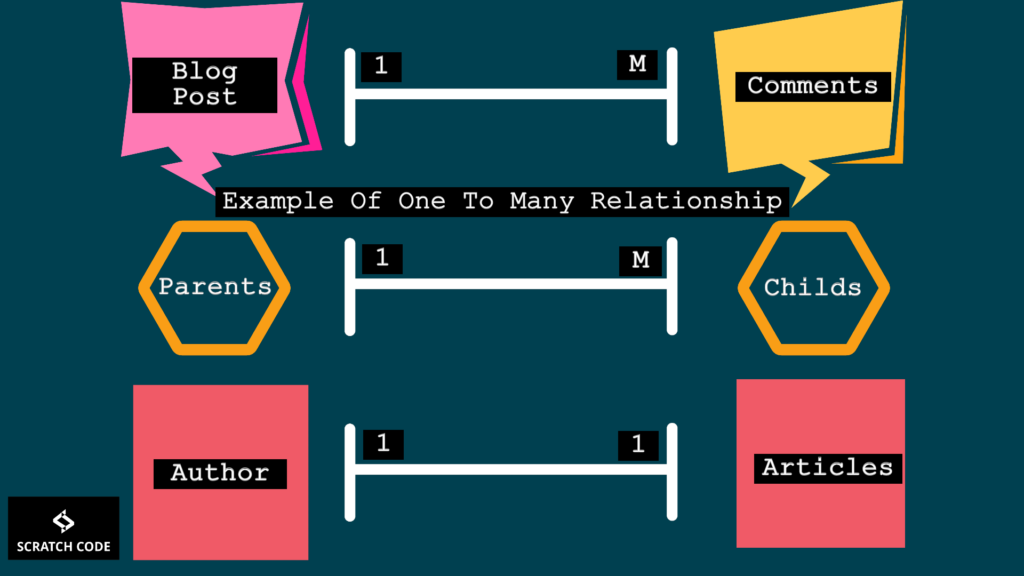
The one to many is useful where one model’s single record is associated with another model’s multiple records.
A very simple example of one to many is, A single Post or Article has many comments. Another example is, If you are a writer then you have written multiple blog posts or pages. Hope this is very simple to understand. If not then please refer to the below screenshot for a better understanding. Let’s move ahead and understand the one to many steps by step with an example.

02 Create Models and Migrations
In one to many, we need to create two models Post & Comment with two migrations files. To do so open the command-line tool and run the following command:
php artisan make:model Post -m
php artisan make:model Comment -m
The -m flag on the above command denotes that create migration file along with model creation.

After running the above command new migration files created in database/migrations folder and new model files created in app/Models directory. If you are using an older version than Laravel 8 then it will be created in app/ directory.
Now, let’s open both newly created migration files and update the up() method as below:
Post Migration
<?php

use Illuminate\Database\Migrations\Migration;
use Illuminate\Database\Schema\Blueprint;
use Illuminate\Support\Facades\Schema;

class CreatePostsTable extends Migration
{
    /**
     * Run the migrations.
     * One to many relationship tutorial
     * scratchcode.io
     * @return void
     */
    public function up()
    {
        Schema::create('posts', function (Blueprint $table) {
            $table->id();
            $table->string('title');
            $table->text('description');
            $table->timestamps();
        });
    }

    /**
     * Reverse the migrations.
     * One to many relationship tutorial
     * scratchcode.io
     * @return void
     */
    public function down()
    {
        Schema::dropIfExists('posts');
    }
}
Comment Migration
<?php

use Illuminate\Database\Migrations\Migration;
use Illuminate\Database\Schema\Blueprint;
use Illuminate\Support\Facades\Schema;

class CreateCommentsTable extends Migration
{
    /**
     * Run the migrations.
     * One to many relationship tutorial
     * scratchcode.io
     * @return void
     */
    public function up()
    {
        Schema::create('comments', function (Blueprint $table) {
            $table->id();
            $table->integer('post_id')->unsigned();
            $table->string("comment");
            $table->timestamps();

            /*@ Connect comment table's post_id with post table's id field */
            $table->foreign('post_id')->references('id')->on('posts')->onDelete('cascade');
        });
    }

    /**
     * Reverse the migrations.
     * One to many relationship tutorial
     * scratchcode.io
     * @return void
     */
    public function down()
    {
        Schema::dropIfExists('comments');
    }
}
In the comment migration, we have added a foreign key that connects the comment table’s post_id column to the posts table’s id column.
Moreover, onDelete(‘cascade’) will delete all the comments if associate post is deleted. Suppose, if we have a post with id=3 and that post have 100 comments so if we deleted the post with id=3 then all the 100 comments will automatically deleted along with it.
Now run the below command to create posts and comments tables in your database:
php artisan migrate

Now, let’s define the relationship in our model.
03 Add One To Many Relationship In Models
Now, to define the relationship, we need to add the function in both models. So comments() function goes in Post model and post() function goes in Comment model. That is how both models will connect with each other.
One question will popup in your mind that can I use any name for the function to define the relationship? Yes, you can use any name but it’s good to keep the appropriate name for better understanding that is why we took comments as plural and post() as singular.
The one to many is as simpler as a sentence let’s just revise our relationship in a simpler word. For example, our individual has many comments and comments are belong to a single post. Let’s now convert this sentence into code.
app/Models/Post.php
<?php

namespace App\Models;

use Illuminate\Database\Eloquent\Factories\HasFactory;
use Illuminate\Database\Eloquent\Model;

class Post extends Model
{
    use HasFactory;

    protected $fillable = [ 'title', 'description' ];

    public function comments()
    {
    	return $this->hasMany(Comment::class);
    }
}
In the above code, we have defined that post model has many comments. Easy right as simple as a sentence? Let’s now define the inverse relationship.
Defining Inverse One To Many Relationship in Laravel
The inverse relationship is also as simpler as a sentence let’s just revise our inverse relationship in a simpler word. For example, our comments are belongs to a single post. Let’s now convert this sentence into code. To do so open your app/Models/Comment.php file and add the post() method into it as below:
app/Models/Comment.php
<?php

namespace App\Models;

use Illuminate\Database\Eloquent\Factories\HasFactory;
use Illuminate\Database\Eloquent\Model;

class Comment extends Model
{
    use HasFactory;

    protected $fillable = [ 'comment' ];

    public function post()
    {
    	return $this->belongsTo(Post::class);
    }
}
After defining the relationship between both the models. Let’s now perform CRUD operations using relationship.
04 Read Data
Let’s quickly read the records using tinker console. Run the following command to open the tinker console:
php artisan tinker
After running the above command you will be entered into the tinker shell. Let’s fetch the comments associated with particular post.
App\Models\Post::find(12)->comments

When the above command will execute, Laravel takes the post_id and look into the comments table and fetch all the comments associated with post_id.
Similarly, we can retrieve the inverse related model as below:
App\Models\Comment::find(1)->post

05 Create Records
To create records using relationship you can run it into the tinker or add code into the controller.
$post = Post::find(1);

$comment = new Comment();
$comment->comment = 'I love this blog post. Keep it up.';

$post->comments()->save($comment);
Use the saveMany() method instead of save() to associate multiple records like below:
$post = Post::find(1);

$post->comments()->saveMany([
    new Comment(['comment' => 'A new comment.']),
    new Comment(['comment' => 'Another new comment.']),
]);
06 Update Records
Updating records in this relationship is same as simple record updating. Let’s have a glance:
$comment = Comment::find(1);
$comment->comment = 'I am updating';
$comment->save();
07 Delete Records
To delete records in relationships is very simple as record creation. Find out the record and with the help of the delete() method deletes all the associated records.
$post = Post::find(1);
$post->comments()->delete();
Additionally, read our guide:
- Laravel One To One Relationship Tutorial
- Best Way to Remove Public from URL in Laravel
- Error After php artisan config:cache In Laravel
- Specified Key Was Too Long Error In Laravel
- AJAX PHP Post Request With Example
- How To Use The Laravel Soft Delete
- How To Add Laravel Next Prev Pagination
- cURL error 60: SSL certificate problem: unable to get local issuer certificate
- Difference Between Factory And Seeders In Laravel
- Laravel: Increase Quantity If Product Already Exists In Cart
- How To Calculate Age From Birthdate
- How to Convert Base64 to Image in PHP
- Check If A String Contains A Specific Word In PHP
- How To Find Duplicate Records in Database
- How To Convert Word To PDF In Laravel
That’s it for now. We hope this article helped you to learn Laravel One To Many Relationship.
Please let us know in the comments if everything worked as expected, your issues, or any questions. If you think this article saved your time & money, please do comment, share, like & subscribe. Thank you in advance. 🙂 Keep Smiling! Happy Coding!


Hello I made one tomany relationship and now i want to display both in one page how can i do please help us